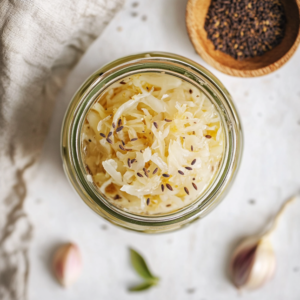
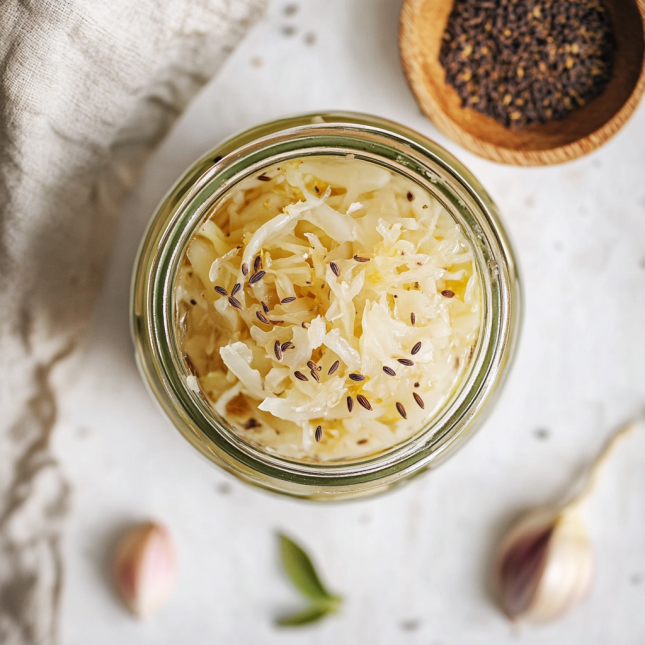
Craving that perfect tangy crunch to go as a side of your main dish? Let me tell you about my latest fermentation obsession: Homemade Sauerkraut. This traditional German staple (literally “sour cabbage”) has been nurturing healthy guts since the 16th century.
With just cabbage and salt, you’ll create a probiotic powerhouse packed with beneficial bacteria like Lactobacillus and Bifidobacterium – the same friendly microbes found in premium probiotic supplements!
Slice your cabbage whisper-thin (my go-to stainless steel mandoline makes this a breeze!) and massage it with salt until it releases its natural juices. Pack it into a clean jar, ensuring everything stays submerged under the brine – this is where the good bacteria work their magic! The fermentation process takes 1-4 weeks, depending on how funky you like it.
The result? Crisp, tangy strands with complex flavor notes you’ll never find in the store-bought stuff. I love watching the transformation as it progresses from fresh and salty to delightfully sour. Pro tip: Save that probiotic-rich brine for your next batch or use it to add zing to dressings!
This living food – literally, gets better with time, just like a fine wine. Trust me, once you master homemade Sauerkraut, you’ll never go back to the supermarket bought one!
This is a recipe I was given by my lovely neighbour when I was living in Austria. We used to have Sauerkraut on regular basis whenever meat dishes were served. One of my favourite memories are summer sunday afternoons where we would sit on the porch and nibble on typical Austrian Jause; Sliced meat variations alongside cheese, sauerkraut, bread and pickles.
Why You Should Eat More Sauerkraut?
Fermented cabbage is a nutritional powerhouse that delivers multiple health benefits. It’s rich in probiotics that support gut health and boost immunity, while also providing high levels of vitamin C, K, and fiber.
The fermentation process enhances the bioavailability of nutrients and creates beneficial compounds like short-chain fatty acids that reduce inflammation. Regular consumption may improve digestion, strengthen your immune system, and even support mental health through the gut-brain connection.
What Do You Need To Make Sauerkraut At Home?
With only couple of ingredients and very little equipment, you can make your own homemade Sauerkraut.
Essential equipment of homemade sauerkraut:
- Large glass jar or fermentation crock
- Cabbage crusher or clean hands
- Sharp knife or mandoline
- Weight or smaller jar (to keep cabbage submerged)
- Clean kitchen towel or cloth
Ingredients of homemade sauerkraut:
- Fresh cabbage. You can use either white or red cabbage , depends on your preference
- Sea salt or kosher salt (non-iodized)
- Optional: caraway seeds or juniper berries
A clean workspace and proper sanitization of tools are crucial for successful fermentation.
Step By Step Instructions of Homemade Sauerkraut
Start by removing the outer leaves of the cabbage and shredding it finely using a sharp knife or mandoline. Save one clean outer leaf for later use as a top cover.
Sprinkle salt over the shredded cabbage (about 2-3% salt by weight) and massage it vigorously with clean hands for 10 minutes until it releases liquid. The cabbage should become watery and significantly reduced in volume.
Pack the salted cabbage tightly into a clean glass jar or crock, pressing down firmly to remove air pockets. The liquid should rise above the cabbage. If needed, add a bit of salted water to ensure full coverage.
Place the reserved outer leaf on top of the shredded cabbage, then add a weight (like a smaller jar filled with water) to keep everything submerged beneath the brine.
Cover the jar with a clean cloth secured with a rubber band to keep out dust while allowing gases to escape. Store at room temperature (65-75°F) for 1-4 weeks, depending on desired sourness. Check daily to ensure cabbage stays submerged and remove any scum that forms.
Once it reaches your preferred taste, remove the weight and top leaf, seal the jar, and refrigerate. Your sauerkraut will keep for several months when properly stored.
How is Sauerkraut Fermented?
During sauerkraut fermentation, lactic acid bacteria (LAB) convert cabbage’s sugars into lactic acid in an oxygen-free environment. The process begins when salt draws moisture from cabbage cells, creating a brine that promotes beneficial bacteria while inhibiting harmful ones.
The primary fermentation stages are:
- Initial phase (0-3 days): Salt-tolerant bacteria begin converting sugars
- Main fermentation (4-10 days): Lactobacillus species dominate, producing lactic acid
- Final phase (11+ days): Acidity increases, flavor develops, fermentation slows
The end product has a pH around 3.5-4.0, creating shelf-stable preservation. Temperature affects fermentation speed – warmer conditions (65-75°F) accelerate the process while cooler temperatures slow it down.
How to Properly Store Sauerkraut?
Proper storage of sauerkraut requires keeping it in airtight glass containers or jars in the refrigerator, where the cold temperature slows fermentation while preserving beneficial probiotics.
The key is ensuring the cabbage stays completely submerged under the brine to prevent mold growth. Always use clean utensils when serving to avoid introducing contaminants that could spoil your batch.
When stored correctly, homemade sauerkraut typically stays good for 4-6 months in the refrigerator, or up to a year if frozen. However, you’ll want to regularly check for signs of spoilage like mold, unusual odors, slimy texture, or odd discoloration.
For the best flavour and maximum probiotic benefits, try to consume your sauerkraut within 4 months of completing fermentation. If you notice any signs of spoilage, it’s best to discard the batch rather than risk consuming it.

Homemade Sauerkraut: A Gut-Healthy Fermented Delight
Equipment
- 1 Large glass jar or fermentation crock Or you can divide the batch into small jars.1
- 1 Sharp knife or mandoline I prefer the mandoline as it is much faster than a regular knife.
- 1 Large mixing bowl
- weights
- 1 Clean cloth
- 1 Rubber band
Ingredients
- 1 medium head cabbage (~3 pounds or ~ 1.3Kg)
- 1 tablespoon non-iodized salt Salt ratio should be 1.5-2% of cabbage weight.
- 1 teaspoon caraway seeds optional
- 1 teaspoon juniper berries optional
Instructions
- Remove the outer cabbage leaves. Save one clean leaf to put on top of the jar later.
- Shred the cabbage finely with knife or mandoline
- Mix cabbage with salt in large bowl
- With very clean hands, massage the mixture for 10 minutes until the liquid releases
- Add the caraway seeds and juniper berries if they are used.
- Pack the cabbage with its released water tightly into clean jar while pressing down firmly to push it down.
- Pour remaining liquid over cabbage
- Place the leaf you reserved at the beginning on the top of the jar
- Add a clean weight to keep cabbage submerged
- Cover with cloth and secure with rubber band
- Store at room temperature (65-75°F) . Make sure to keep the jar in a dark place away from direct sunlight (inside a cupboard)
- Check daily for 1-3 weeks, remove any surface scum and press it down again
- Between day 14 and 21 you can transfer to refrigerator when it reaches your desired sourness. Fermentation does not stop in the fridge but it is slowed down.
Notes
- Use only non-iodized salt to avoid interfering with fermentation
- Keep everything submerged in brine to prevent mold
- Clean all equipment thoroughly before use
- Always use clean utensils when serving
- Keep refrigerated to maintain probiotics
- Consume brine too – it’s rich in probiotics
- Can be eaten raw or cooked (cooking reduces probiotic content)
